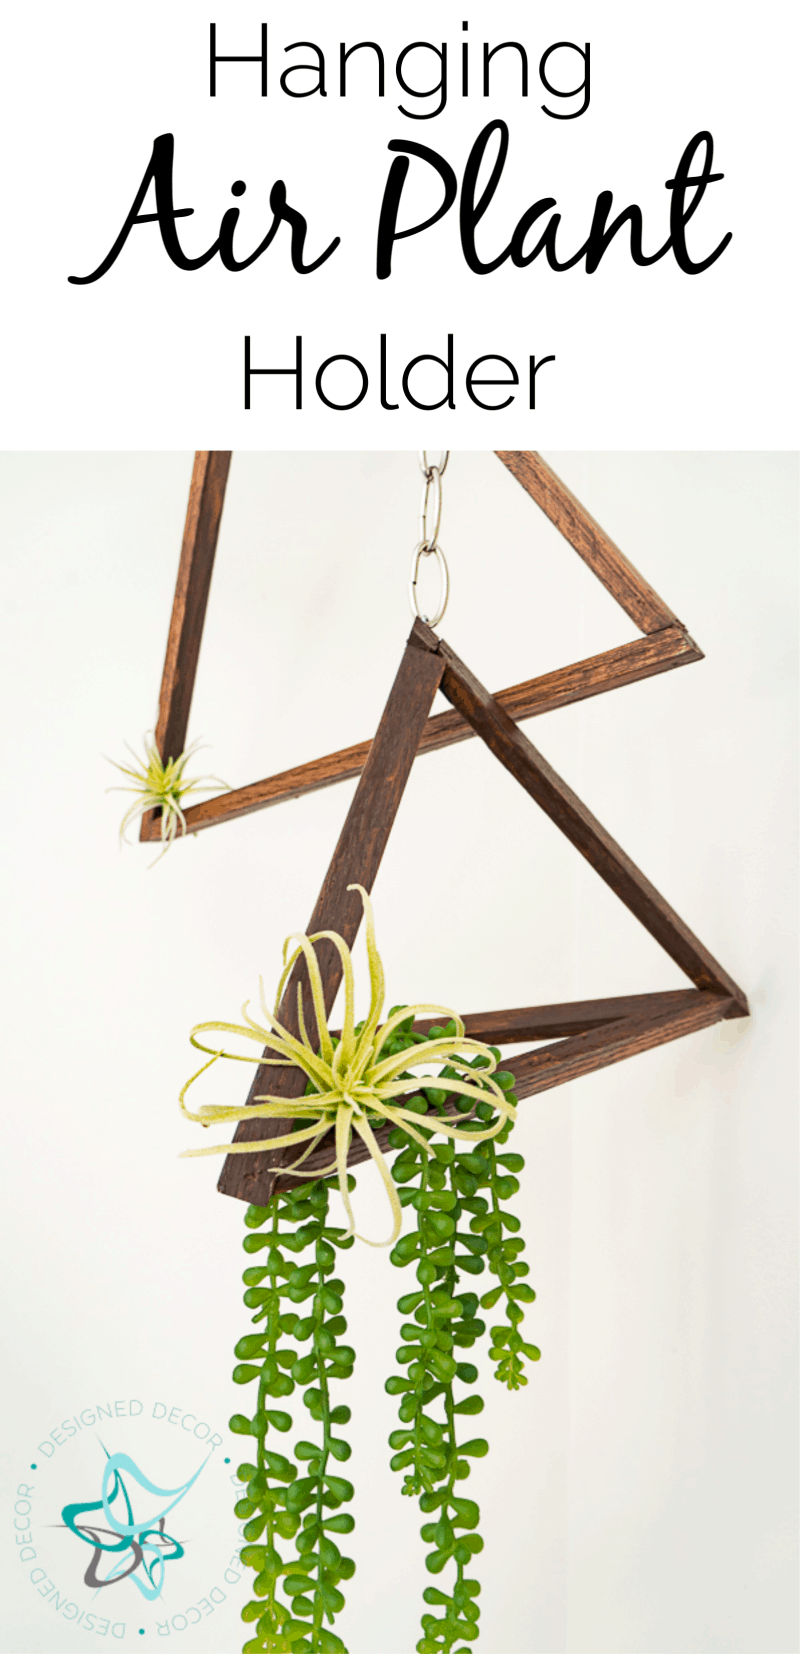
This month the Power Tool Challenge Team is sharing projects that they made for under $20. Yes, you can make some home decor items for under $20. Stick around to the end of the post to see the other great projects. Now, I want to share my DIY Hanging Air Plant Holder.
I was at the High Point Furniture Market on April 6th and found this inspiration in one of the display windows. It was the first time that I attended the market and OMG it was overwhelming and so inspirational, but that could be a whole other post. I was needing some type of hanging plant in the corner of the entryway and once I saw this idea, I knew I had my project.
This post contains affiliate links. Click here to see my full disclosure policy.
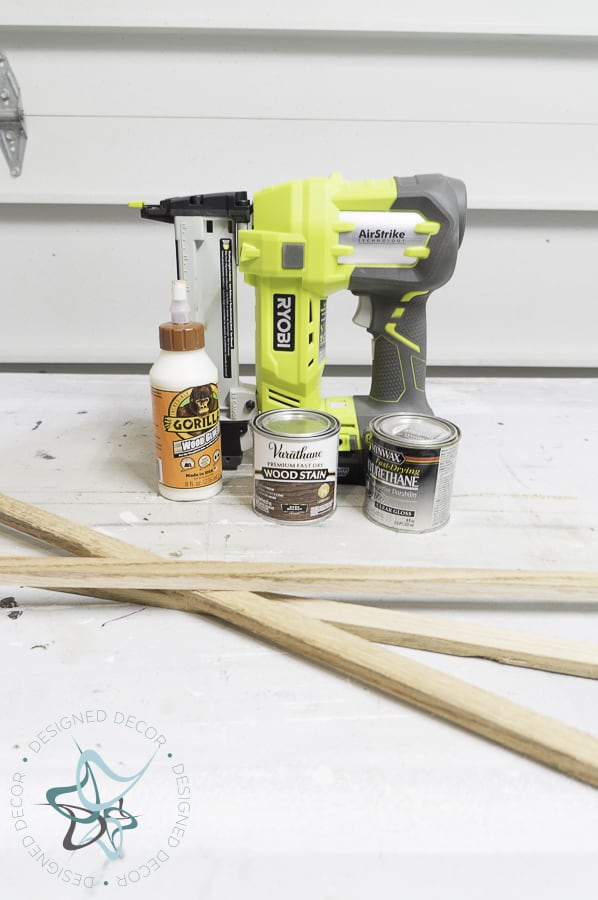
Of course, I had plenty of wood scrap pieces in my stash to make these. If you don’t have the wood strips, you can buy any type of wood from your local lumber store. You can even use wood dowels instead of 1/2 strips.
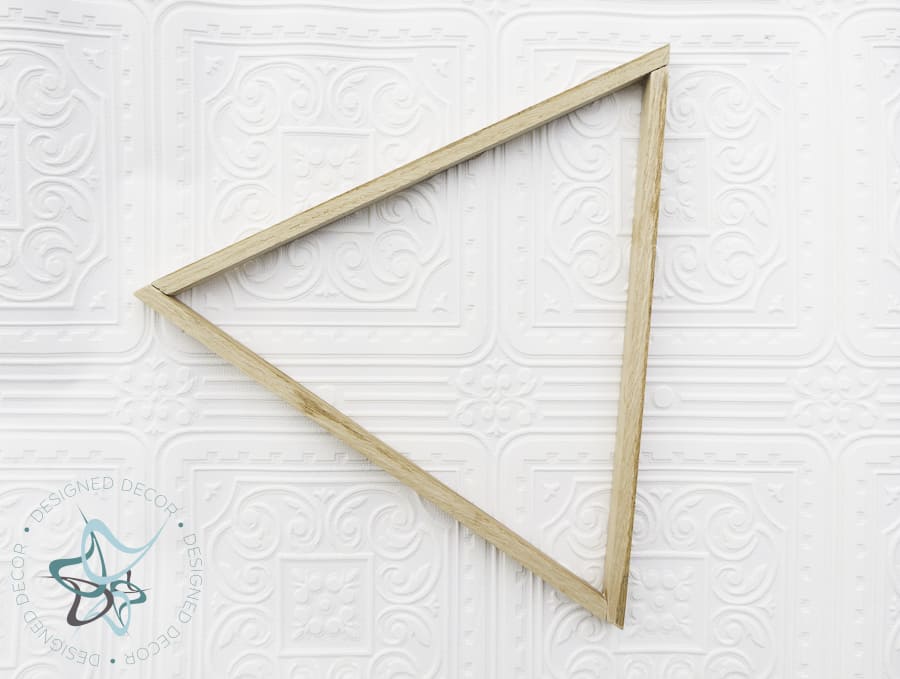
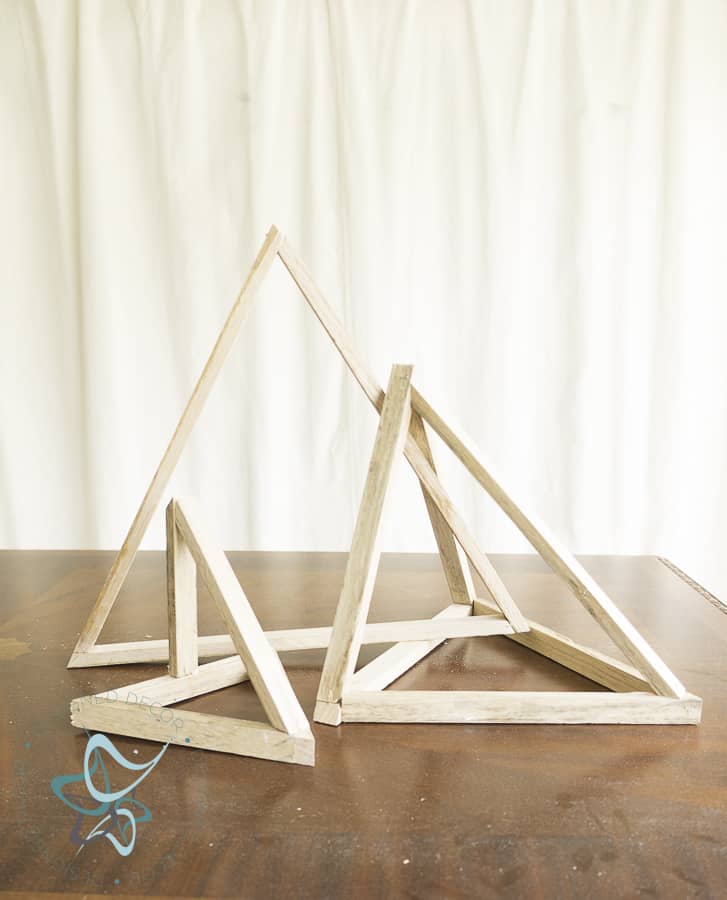
I started with the basic triangle one first. I cut the 1/2 strips to be 14 inches. You can make the triangle to be any size you need, it does not have to be 14 inches.
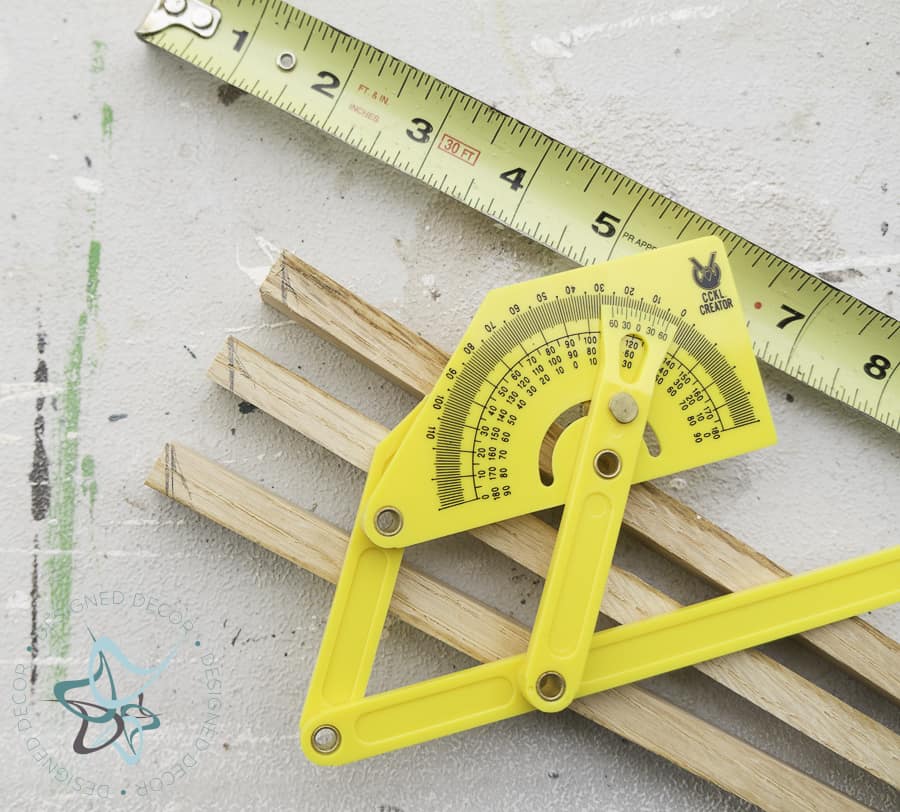
I put a 60-degree angle on the ends of each strip. This allows the wood to butt next to each other. I used this angle finder to mark the angle. Once each strip is cut, apply the wood glue and nail together. If you do not have a nail gun, you could just use the wood glue as long as you don’t place anything heavy in the triangles. If just using glue, make sure you use something to hold them in place until the glue sets up.
I wanted each air plant holder to be slightly different in size and shape. I cut the next strips to be 10 inches(6 pieces) and 6 inches(4 pieces +”1″ 7-inch). Build the basic triangle just like the first. This is where it gets somewhat tricky in order to make the pieces come together.
For the 10 inch triangle, I added 2 more 9 1/4 inch pieces to the top with the 60-degree angles. Once I had those attached, I added the last strip. This one I had to wing it. I cut down the last 10-inch strip to be 9 3/4 strip with 45-degree angles on each end and had to keep trimming it until it fits into place.
The small air plant holder was cut to 6-inches for the base triangle. I used one strip to stand straight up on the base triangle and the long strip I cut to 45-degree angles to meet the base and the straight one. This was the hardest one to complete, as I had to keep cutting until the strip was completely on the base and met the other piece. Again, just wing it until it fits. This is not a project for one that needs exact measurements.
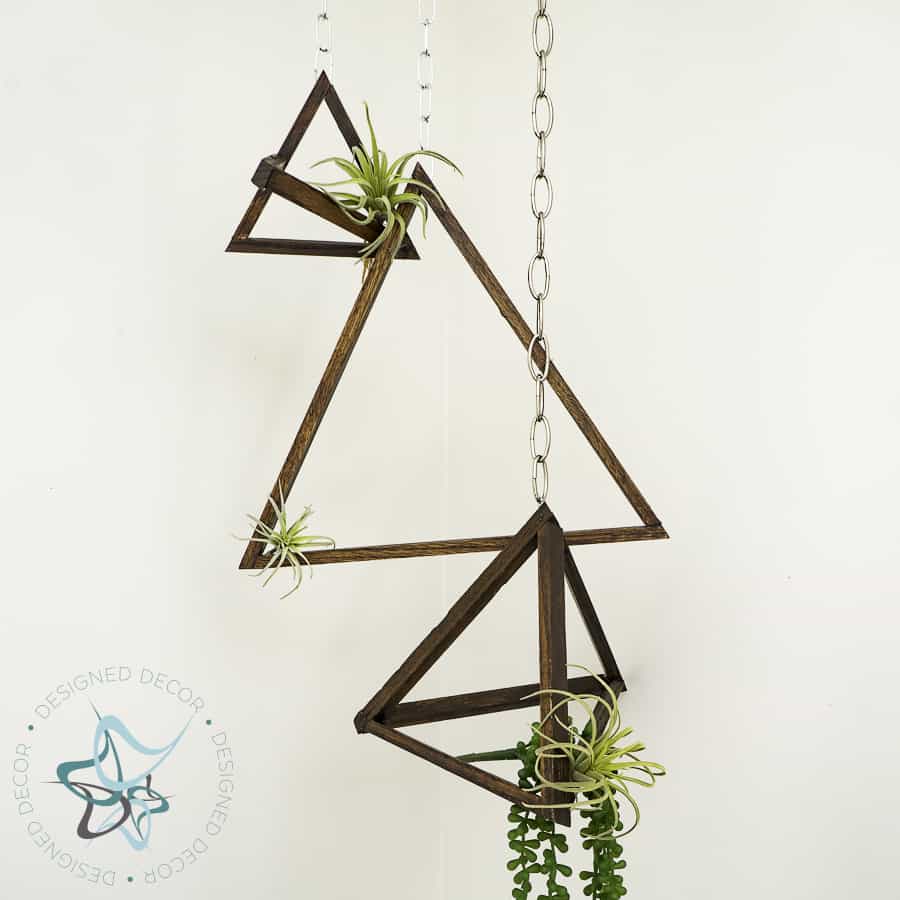
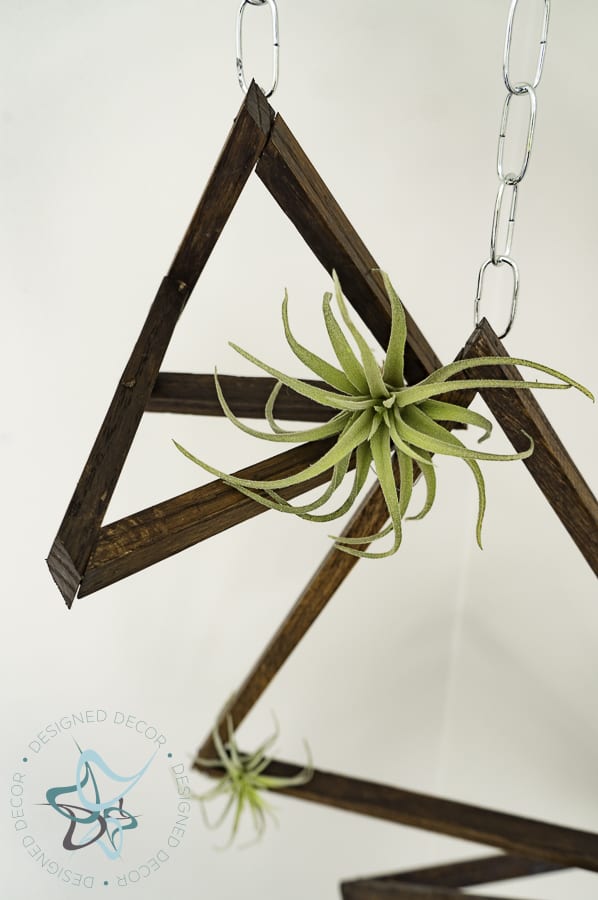
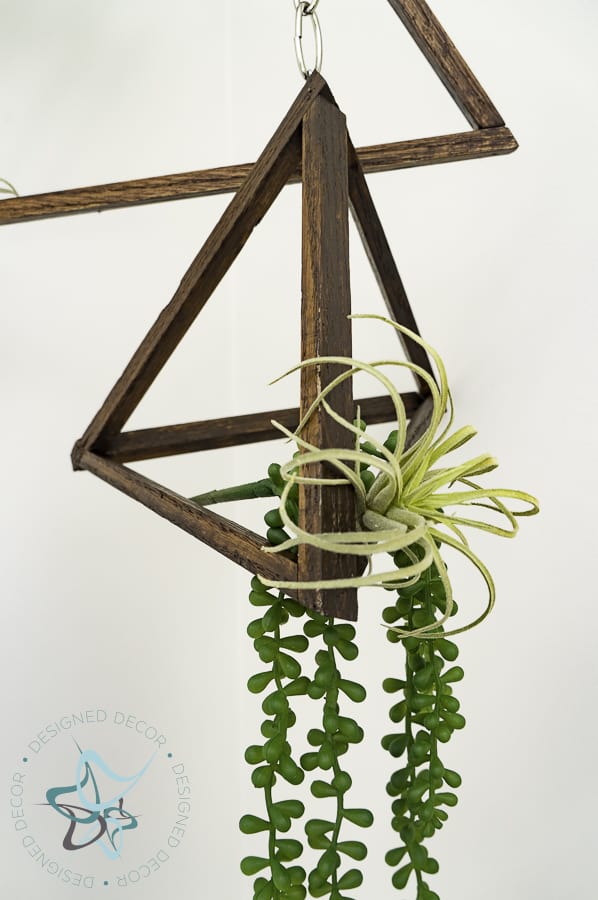
I stained the holders and hung with a silver chain. I had the chain in my stash, of course, you say! I added screw eye rings to each triangle, this is what the chain is attached with. You can also use any string or this natural jute twine, which is what I was going to use originally.
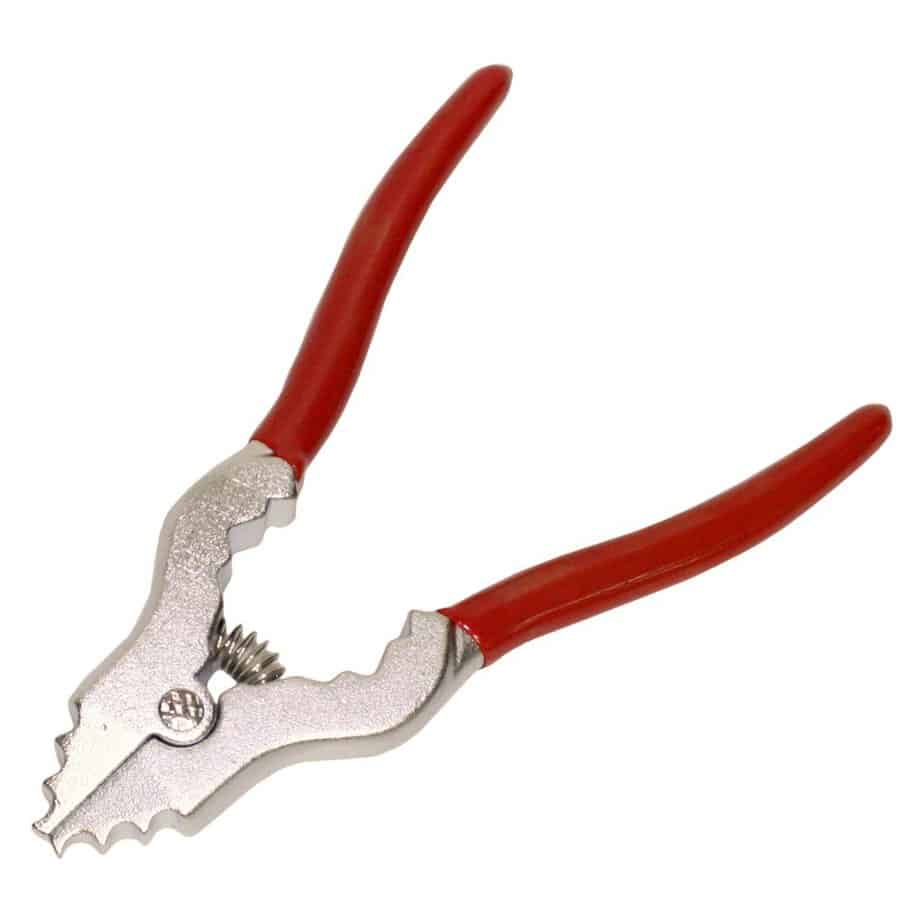
These chain pliers are one of the best tools I bought. If you use chains in your projects, this tool is a must! I use it to separate the chain links and it also closes them back up. Since I make a lot of hanging lamps, I found this tool to save me time and frustration.
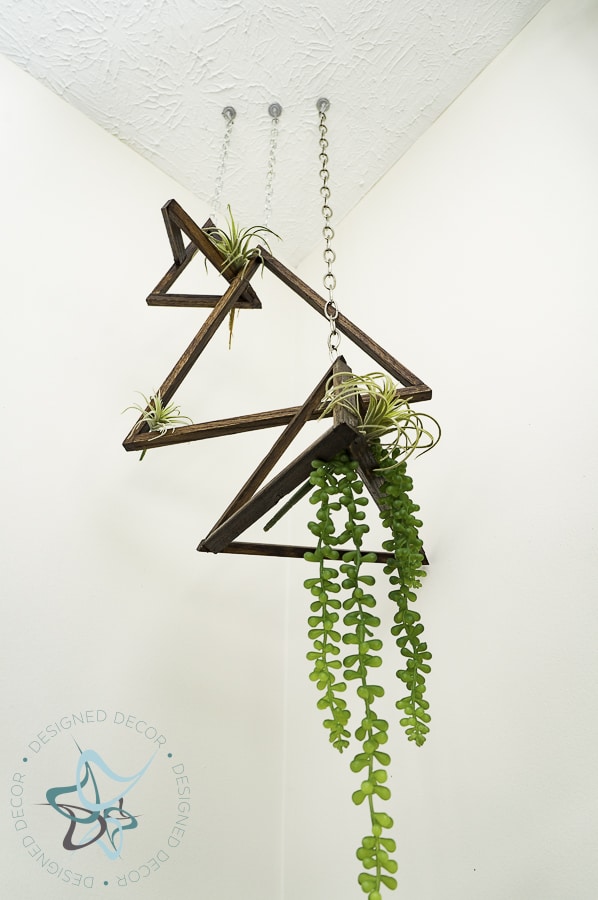
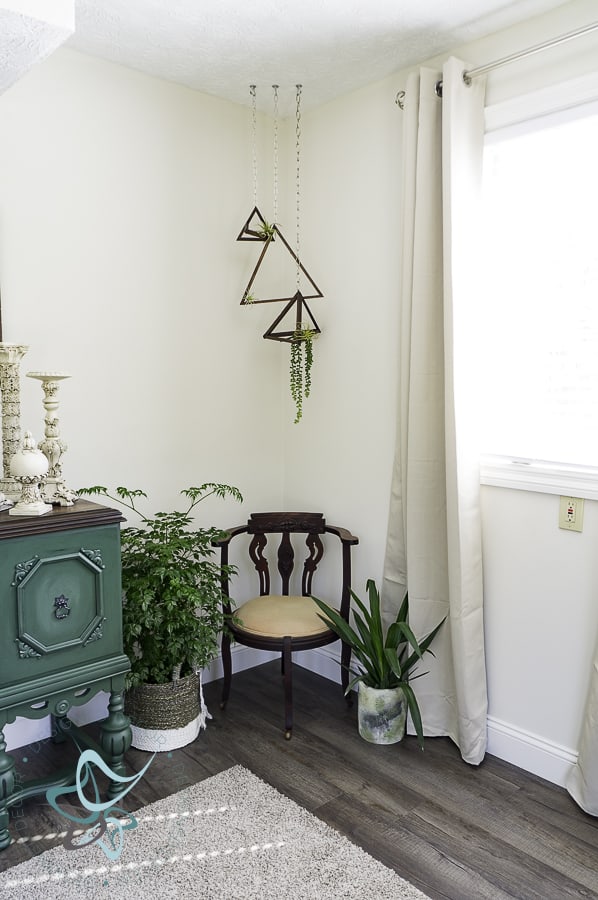
I used plant ceiling hangers to attach the holders to the ceiling. I would love to find a bigger air plant to add to the big center holder to really make the center triangle stand out.
I purchased these faux air plants. I was afraid that I would not be able to keep the real air plants alive. I added the trailing succulent to the bottom holder. I am liking how it adds interest to the bottom triangle.
This is the corner of the entranceway into our Airbnb (HOFHideaway), which is complete and I will be sharing all about the renovation. If you want to see more now, follow my link to the Airbnb listing.
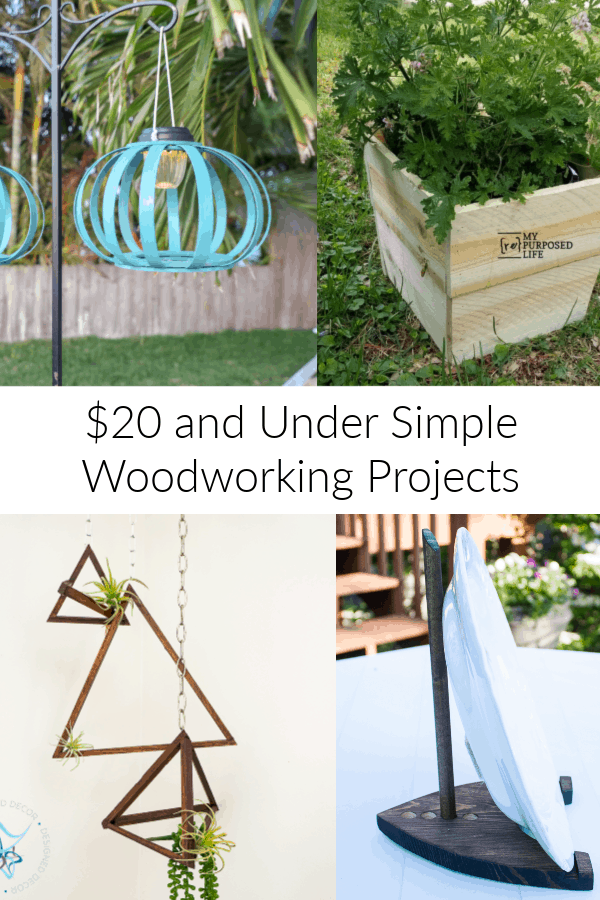
Check out the other under $20 Projects from my talented friends!
H2OBungalow – DIY Solar Hanging Lanterns
My Repurposed Life – Flower Pot Cover
Designed Decor – DIY Hanging Air Plant Holder
Sweet Pea – trailing succulent
Join the DD Community!

Join the Designed Decor Community and receive weekly free tips on DIY home projects, painted furniture, decorating, and much more.

Sarah@The DIY Mommy says
I love how these turned out – the triangle shape makes it really interesting to look at, well done!
Designed Decor says
Thank you Sarah! They were fun to make.
Gail Wilson says
DeDe
You did such a great job on this project. I love how the air plant holder turned out.
Pinned
gail
Designed Decor says
Thanks so much Gail!
Wendi Wachtel says
This is such a cool project! I love the triangles and you’ve got my head spinning on how else I could use this and where! Pinned 🙂
Designed Decor says
Wendi, anywhere and everywhere! lol, They don’t have to hang either.
paulasweetpea says
This look great hanging in the corner of your AirB&B. I’ll bet that your guests that stay there are going to really like this project. My father-in-law grows air plants. He mists them and once I week I think he puts them under the kitchen sink faucet.
Designed Decor says
Thanks, Paula, I have wanted to try a few to see how I do with them. I love how they look and they seem simple enough, except I do not have a green thumb and usually kill most of my house plants.