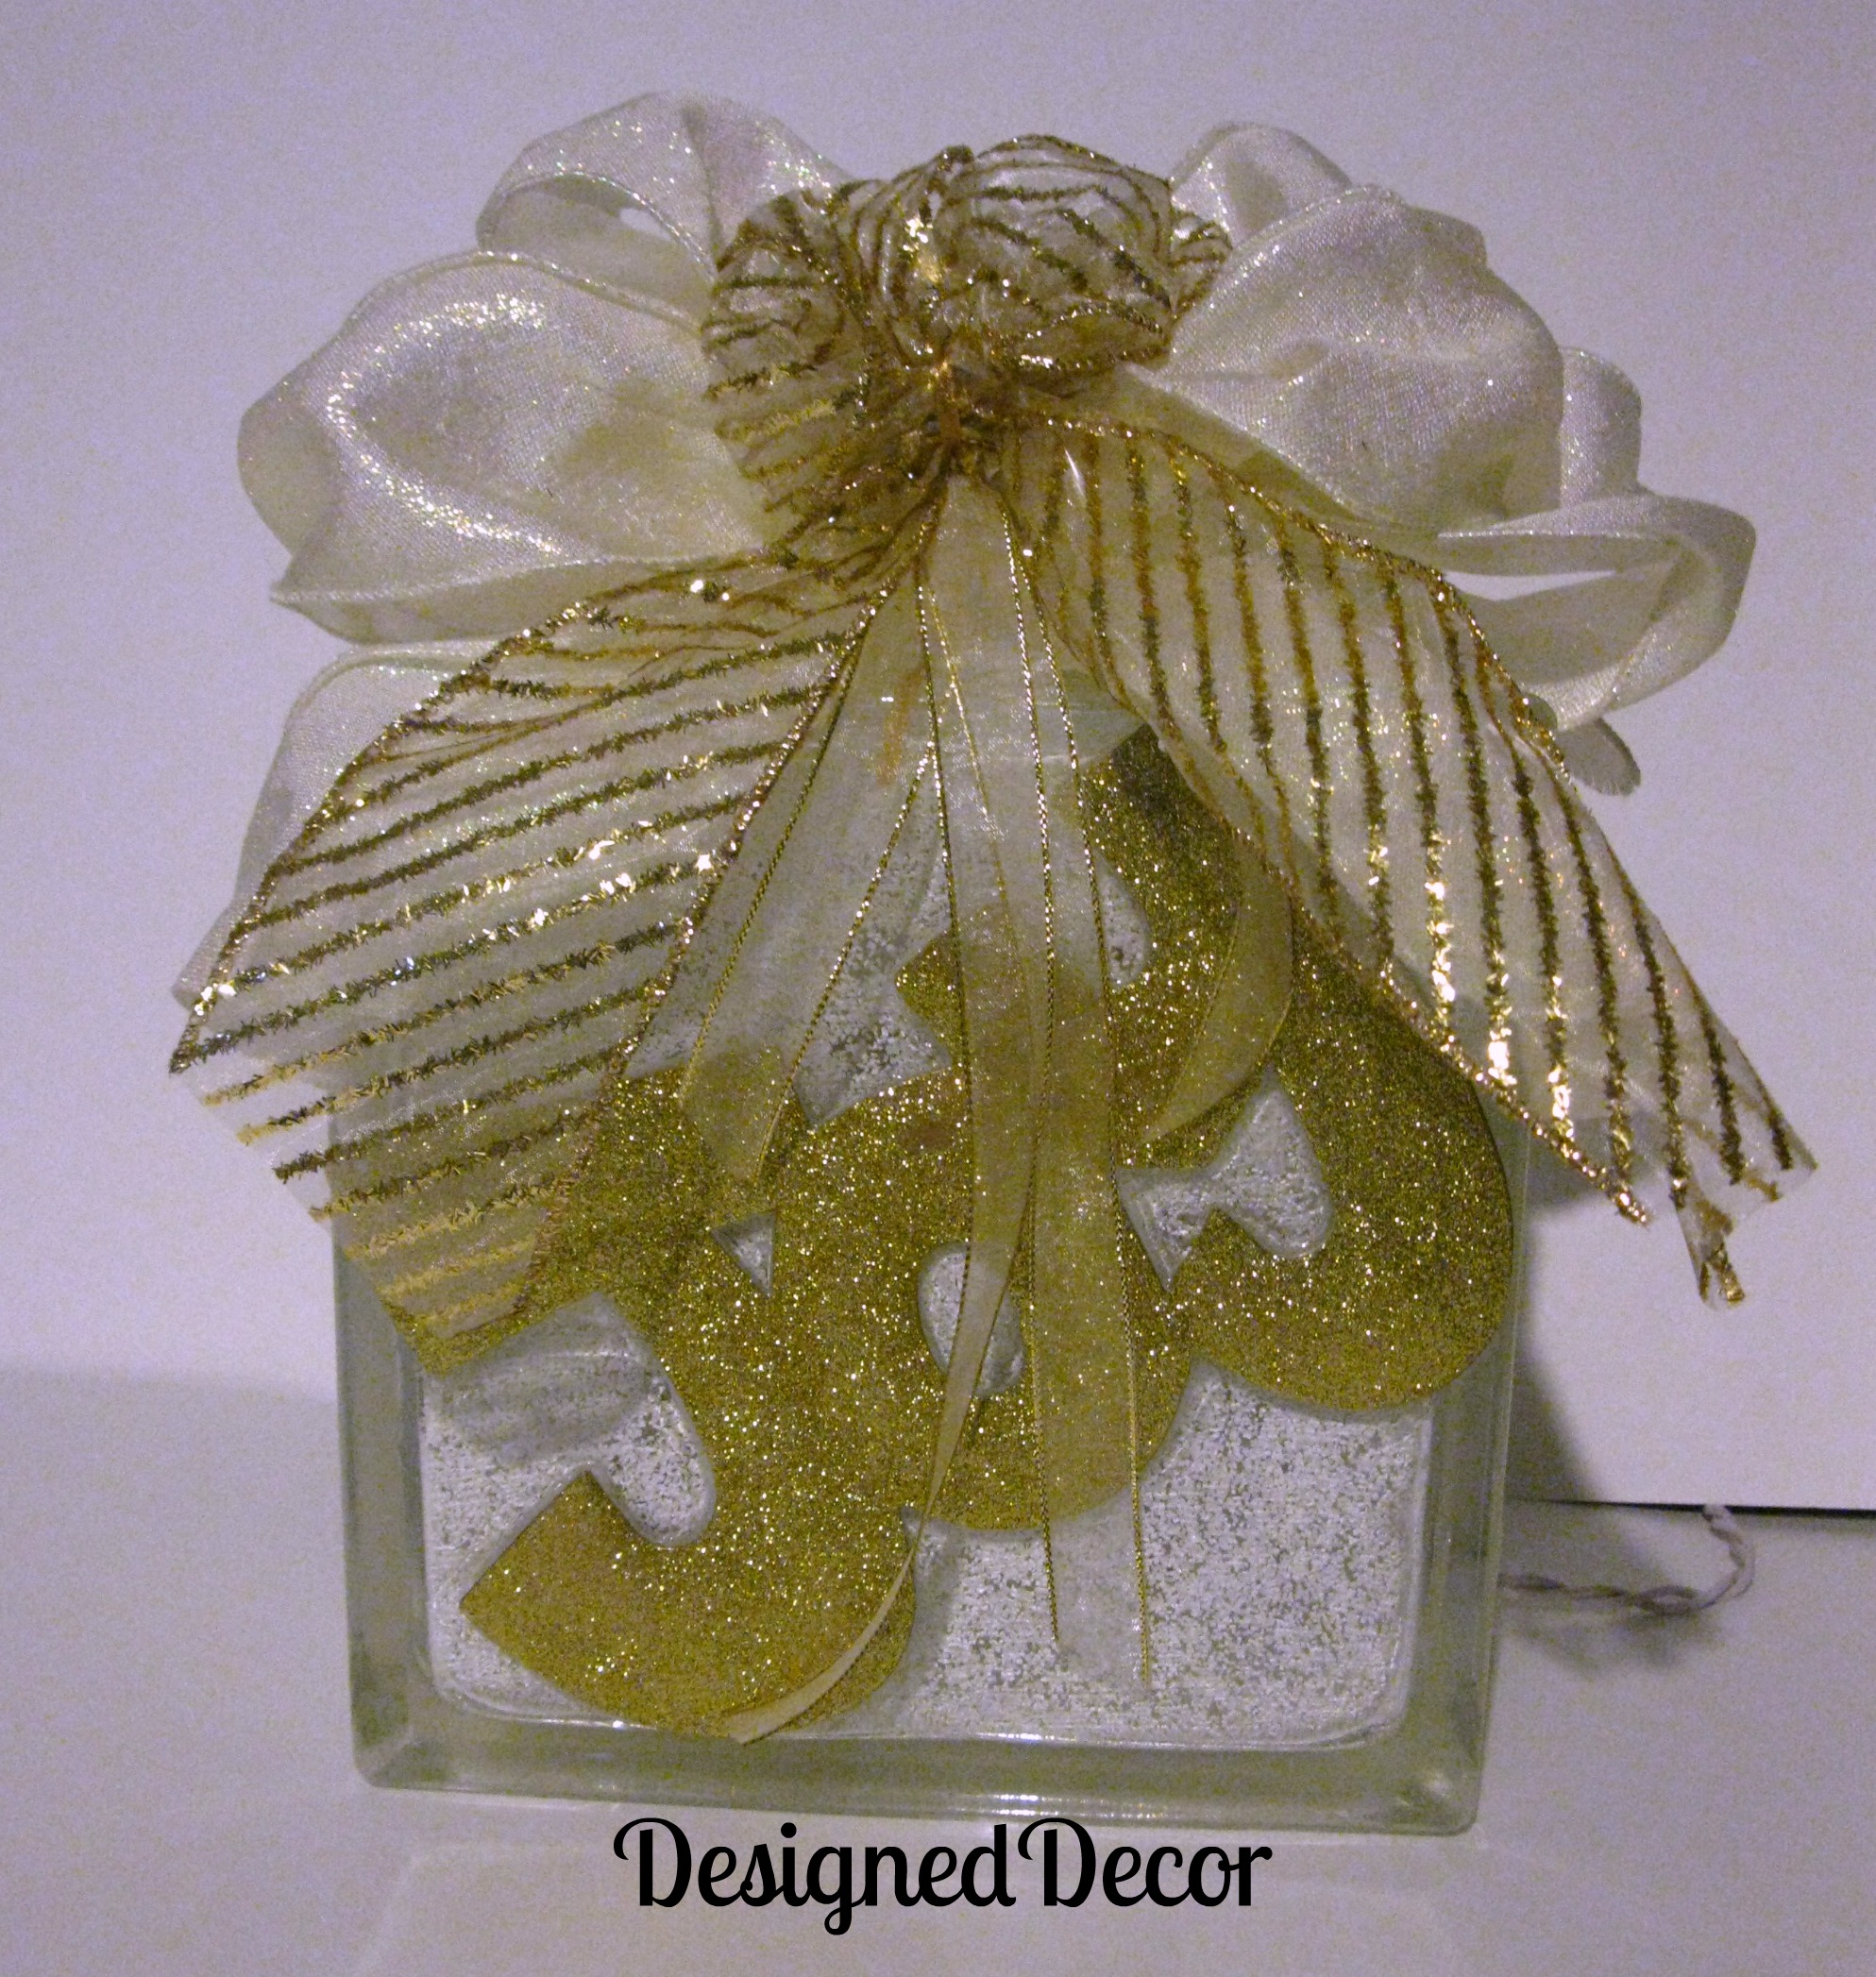
I love to repurpose construction glass blocks into a great night-light or a holiday decoration. I chose to repurpose the construction blocks over buying the plastic ones from the craft store. I feel it serves a greater purpose by recycling instead of buying new. I have several blocks that I have purchased from various garage sales or that my neighbor had given me (Thanks, Megan). I want to share a step by step tutorial on decorating glass blocks.
This post contains some affiliate links. Click here for my full disclosure policy.

Decorating Glass Blocks
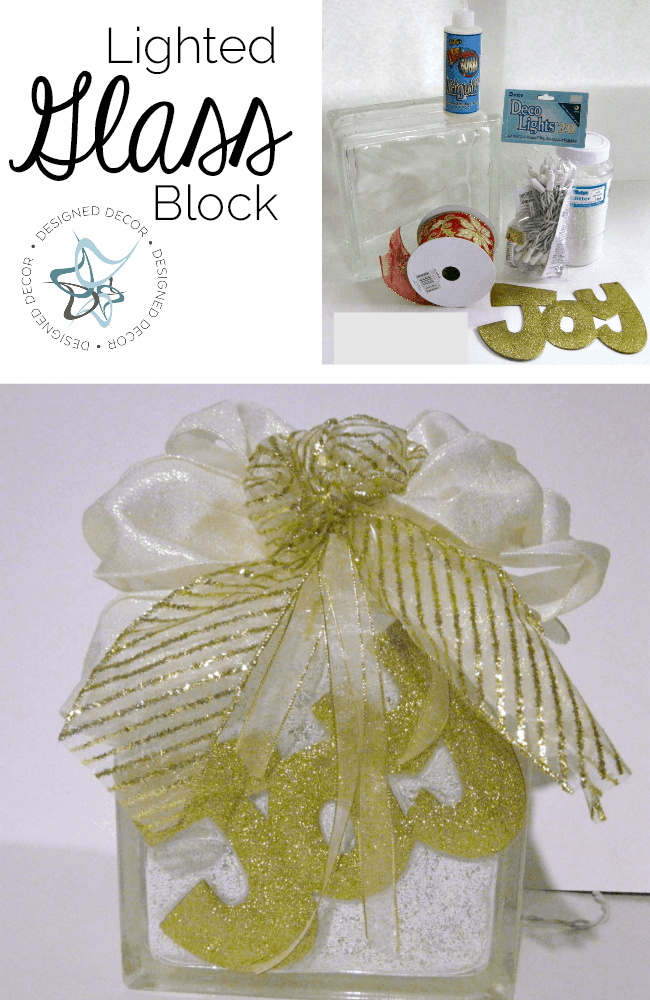
Materials
- Construction Glass Block
- Gilding Adhesive
- Glitter
- Clear 20-Bulb Light Set with White Cord
- Mod Podge
- Ribbon
- various decorations for the outside of the block
Tools
Instructions
- Drill a hole in the side of the block with a 1/2 inch diamond hole saw. This is a type of saw to cut glass. Tip: Run under cold water while cutting to prevent the drill from heating up and cracking the glass.
- Rinse the inside the block, rinse as much of the residue out from the inside of the block. It takes a long time for the inside of the blocks to dry. Tip: Bake the block in the oven at 170 degrees for 2 hours. The inside of the block will be completely dry after baking and letting cool.
- Squirt a fair amount of magic bubble liquid in the inside of the glass block, turn and shake the block until all sides have been evenly coated with the liquid, drain any extra liquid.
- Pour glitter of your choice into the glass block. Shake and turn the block until all sides are evenly covered. Tip: Use a small funnel to pour the glitter into the small opening of the glass block.
- Place glass block into oven and bake @ 170 for another 2 hours, let cool completely.
- Clean the outside of glass block with a cleaner to remove dirt and fingerprints.
- Glue the metal glitter ornament(or decoration of your choice) on the glass block surface, let dry.
- Seal the block with Mod Podge to seal all the glitter from metal ornament and to give extra protection to the outside of the block.
- Insert light string into the opening of glass block. Tip: test the lights before inserting into the glass block.
- Wrap ribbon around outside of the block, tie at the top. Make a pretty bow and place at top of block.
Step 1: Drill a hole in the side of the block with a 1/2 inch diamond hole saw. This is a type of saw to cut glass.

Tip: Place the glass block in a sink so you can run a steady stream of cold water over the block and the drill. This keeps the drill and the glass cool, which prevents cracking of the glass. I have cut(and broke) my fair share of blocks and wine bottles and I have found the cold water is the trick.

Step 2: Rinse the inside the block, rinse as much of the residue out from the inside of the block. It takes a long time for the inside of the blocks to dry. Tip: Bake the block in the oven at 170 degrees for 2 hours. The inside of the block will be completely dry after baking and letting cool.
Step 3: Squirt a fair amount of magic bubble liquid in the inside of the glass block, turn and shake the block until all sides have been evenly coated with the liquid, drain any extra liquid.

Step 4: Pour glitter of your choice into the glass block. Shake and turn the block until all sides are evenly covered. Tip: Use a small funnel to pour the glitter into the small opening of the glass block.
Step 5: Place glass block into oven and bake @ 170 for another 2 hours, let cool completely.
Step 6: Insert light string into the opening of the glass block. Tip: test the lights before inserting into the glass block.

Now you are ready to decorate the outside of the glass block.
Step 7: Clean the outside of glass block with a cleaner to remove dirt and fingerprints.
Step 8: Glue the metal glitter ornament(or decoration of your choice) on the glass block surface, let dry.

Step 9: Seal the block with Mod Podge to seal all the glitter from metal ornament and to give extra protection to the outside of the block.

Step 10: Wrap ribbon around outside of the block, tie at the top. Make a pretty bow and place at top of block.

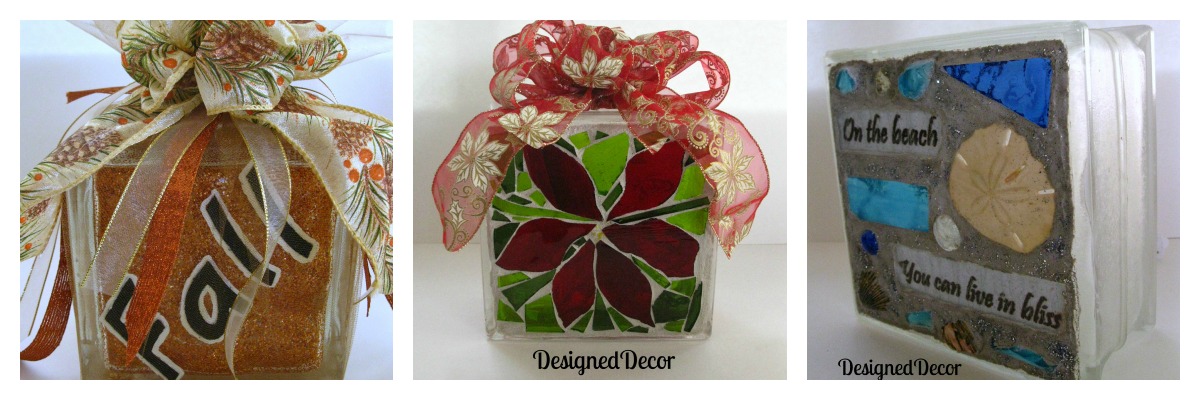
I have made various versions of lighted glass blocks, and I want to share them with you.


These glass blocks make a great addition to a room or for the holidays.

Join the DD Community!

Join the Designed Decor Community and receive weekly free tips on DIY home projects, painted furniture, decorating, and much more.

Bobbie says
Where do you purchase the Kellys Magic Bubble Liquid. Thank you so much
Designed Decor says
Bobbie, It has been discontinued and I can’t find it under that name any longer. You can use any liquid adhesive as long as it is very runny and dries clear. I like using WundaSize for other projects and you could try that.
Diane Hopkins says
How do you trace an image to paint onto the glass block?
Designed Decor says
Diane, you print whatever image you want onto a piece of paper. Buy trace paper {http://amzn.to/2BUDbcW} place the tracing paper on your surface{glass block} place the paper print on top of the tracing paper and trace your image onto the glass block. Paint the image you just traced. I should do a tutorial on this since I just finished a few wood signs using this method.
VICKI says
If you have an opening, do you still need to drill a hole?
Designed Decor says
Vicki, You only need to drill a hole in your block if it does not have one!
Andrea Couch says
Any idea where to find the magic bubble liquid? It seems to be discontinued?
Designed Decor says
Andrea, If you can’t find it anywhere I have seen others use floor wax. Any thin craft liquid that dries clear will work too. I still have some of the magic bubble stuff on hand so I have not had to go purchase any lately. Check the craft aisle at your local store and I am sure someone would have the clear liquid.
electronics supply says
Excellent blog you have got here.. It’s hard to find high quality writing like
yours these days. I seriously appreciate individuals like you!
Take care!!
DesignedDecor says
Thanks Martin, I started following your blog so I will be back to post!
Marti says
I love this, this is very creative! I have a SHOW-case Craft Showcase going on this weekend if you would like to be a part of! 🙂
jocieopc says
What a cute idea DeDe! and great gift idea!
Would love if you came and linked up with us. We’re giving away one free week of ad space for one lucky feature, and our blog gets thousands of hits per day! Hope to see you there!
http://www.oneprojectcloser.com/the-humble-brag-link-party-4/