My husband needs me to help out at his golf outing this year. Everyone from his company will be wearing matching shirts with their company logo on the shirt. He brings me my shirt home on Wednesday, needles to say it is a men’s small and is way to long and to lose in the middle. I informed him that I could not wear this, that it is way to big. He said everyone is wearing the shirts, you need to also. My husband stated just tuck it in, it will be fine. Tuck it into what, the little golf skirt that I am wearing, yeah right! Here is what the shirt looked like before the alterations.
Being that I am independent and adamant that I am not wearing something that is this big and makes me look fat. I went to a few stores yesterday looking for a women’s red golf shirt, I guess red is not the color for women, I could not find one. So today I decided I would do my best to alter this shirt, how hard can this be? Let me say, I DO NOT sew and I have only made 3 or 4 things that required sewing. I would love to spend some more time and learn how to sew. Add this to my “want to learn bucket list.” I wish I had spent some more time learning how to sew from my Grandma, who was an awesome seamstress. I do however own her sewing machine, which is a very complicated machine. I had to read the manual on how to set the sewing functions. For those of you that sew, it is a Pfaff. OK, so back to the alterations on the shirt. Here is a shirt that I do wear, lying on top of the red golf shirt my husband wants me to wear.
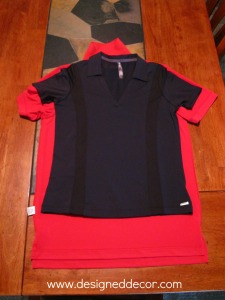
I used the black shirt as the template for my pattern as how much to taper this shirt. I took of 1 1/4 inches on each side and 4 inches on the bottom.
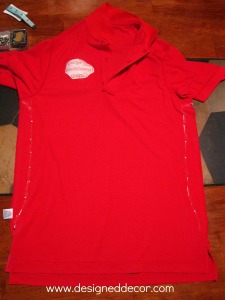
I than went back and used a fancy stitch to make the original stitch more durable.
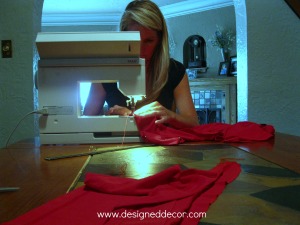
Here I am looking like I know what I am doing!
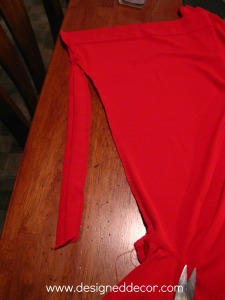
I than cut 4 inches off the bottom, folded the fabric up and pressed with the iron. I pinned the fabric in place and made two straight stitches along the bottom. Well, as straight as I could. This is where you can tell my novice experience. I did want to shorten the sleeves, but I know when enough is a enough.
Look how much better fitting this shirt is. Now I can wear the golf shirt!
Join the DD Community!

Join the Designed Decor Community and receive weekly free tips on DIY home projects, painted furniture, decorating, and much more.



[…] Altering a Golf Shirt. (designeddecor.wordpress.com) […]